For a photographer myself, I don’t have a lot of photos displayed in our home. I have lots of big ideas but while I wait to finally implement them (fingers crossed these happen soon), I love to find little ways to decorate with photos around us.
Sharing this simple photo display from our kitchen that I would have never thought of sharing but I keep getting messages about it on my Instagram stories. This simple DIY photo display is perfect for kids’ rooms or to happy up a boring corner of your home :):)


MAKE YOUR OWN
(Disclaimer: This post includes affiliate links and as an Amazon Associate, I earn from qualifying purchases. If you decide to use these links, thank you so much for your support. I only recommend products I actually use and have good experience with. If you have any questions about any of the products I listed, I would love to answer them)
WHAT YOU’LL NEED
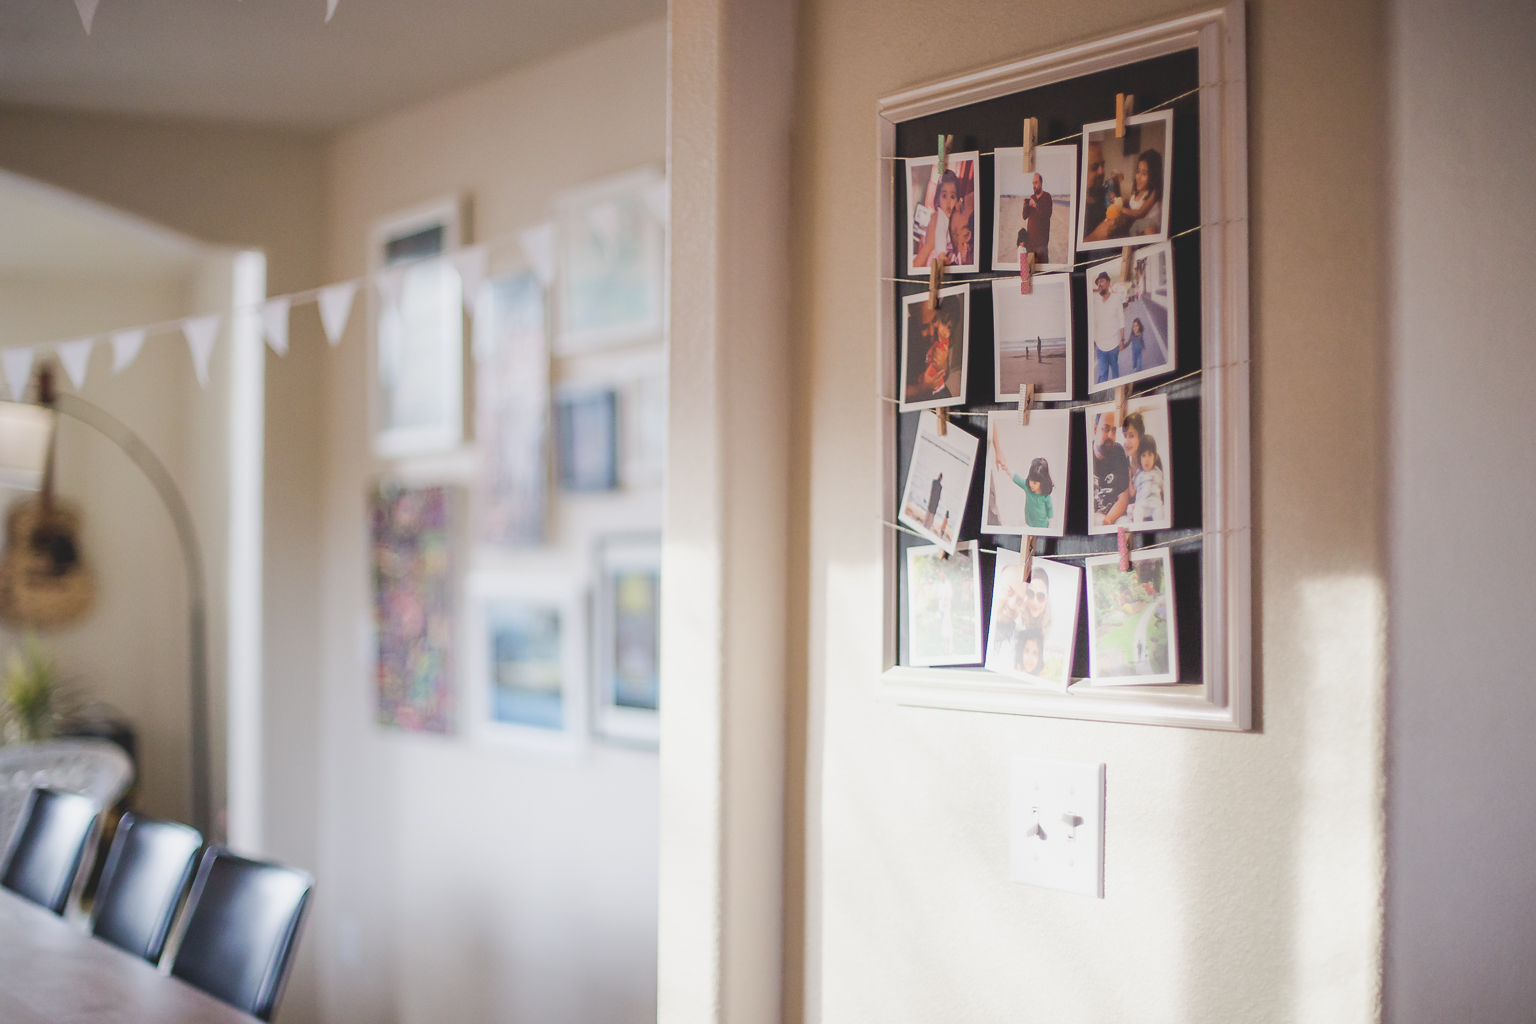
Photos (A mix of closeup shots & wide angle ones look best). I used 4×4 size but 4X6 would work too + a medium or large sized frame (I used an 11×14 chalkboard that wasn’t getting much use, actually an old diy shared earlier here ) + twine (this kind is my favorite) + clothespins (here’s one pretty option & a plain one )
PUT IT TOGETHER
Spread out your photos in rows on your board to see how many rows you will need / Measure and cut your pieces of string and use tape to attach the strings to the back of your frame. / Attach photos with your clothespins. And you’re all done. Hang it up and enjoy looking at your happy memories.
I used the square prints from Parabo.Press. Had ordered a set of their prints (picked favorites from the endless daddy-daughter photos I have of these two mixed with a few family photos) for Bilal for fathers day last year so used those for this little DIY. Totally not sponsored but really really love the quality of these prints.
ALSO ON THE BLOG : MORE PHOTO PROJECTS // MORE DIY IDEAS
Lots of love, Nataliya
